


You'd like to take better food photographs. Here are some of my best tips and insights to help you improve your own photography right now.
I've been doing food photography since 2009. My photographs have been featured in Vegan Life magazine, the Huffington Post and much more. I am self-taught.
Food photography takes a long time to do. It takes hours to make the recipe, clean up the kitchen, try different food props, adjust lighting, shoot, and then edit and review. Generally, I allow 1/3 of the time for food prep/cleanup, 1/3 of time for styling, and 1/3 time for actual shooting. Then later comes post-production.
Styling and Set-Up
It's easiest to style your scene without the food in it and take pictures of that until you get the scene right. Sometimes you can substitute something inanimate in place of the food to help with focus etc.
Once you're satisfied with the shot, whip up your food in the kitchen, and then add the actual food to the set. This keeps the mess to the minimum and preserves the fresh look of your food. You'll still want to tweak a few things once you get the food on set, but you'll have gotten a lot of the styling choices dealt with already.
(Also, because the whole process can be tiring, consider whether you can prepare the food the day before, freeze or store it, then style the set empty, and THEN bring the food out afterwards. You don't want to be impatient and tired by the time it comes to shoot the actual photography!)
Camera Gear
You can only go so far without a good camera. Ideally, you will eventually have a digital camera that has removable lenses. These are called DSLR cameras. Removable lenses are important because then you can buy a lens that's specific for close-ups.
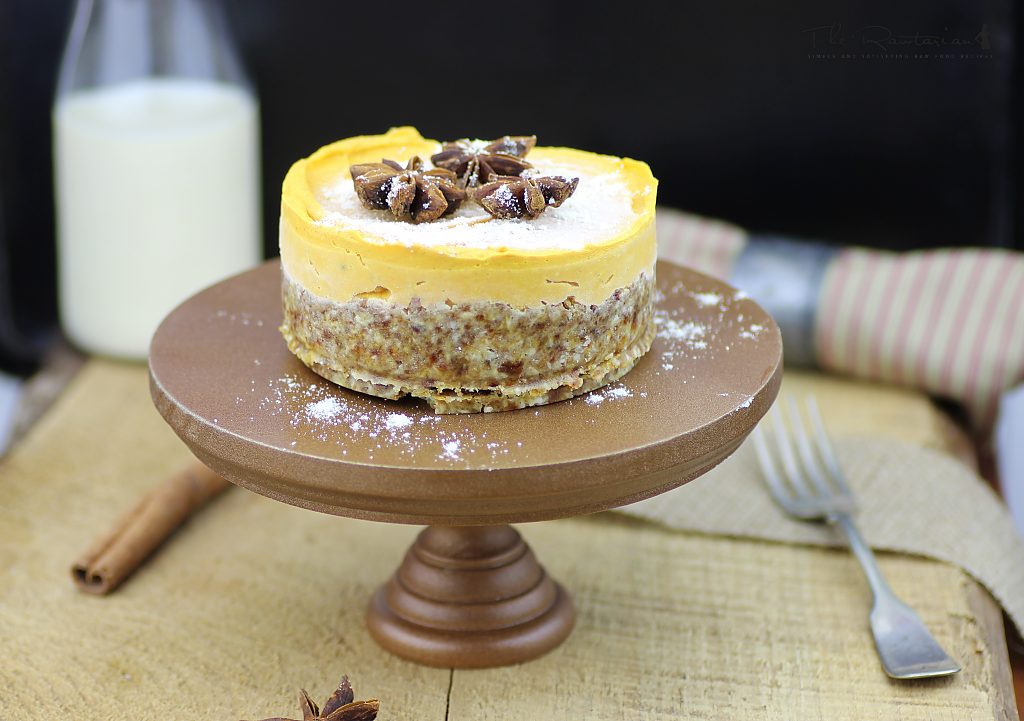
My DSLR camera is a Canon Rebel T3I. I use two different lenses. When taking close-ups of a certain part of the food I use this special macro lens for close-ups, which is what allows me to get that whole some-blurry-some-sharp effect that you see in so many food photographs. When taking an overhead shot where I want everything to be in focus, I use this lens.
Lighting
Natural light is best. The best thing to do is have your table right up against a window with natural light coming in. For me, that doesn't seem to work because (A) my house windows are all facing the wrong side or have decks on them creating shade. (B) I am usually doing photography at night! And (C) I don't have the patience (or climate!) for outdoor photography. :)
Right now, I am not using natural light as my sole source. Instead I am using this lighting kit.
Photo Editing
I use Adobe Photoshop to edit my photos. I currently don't do a lot of color correcting or heavy digital modifications after the shot has been taken, but I look forward to doing more of this in the future.
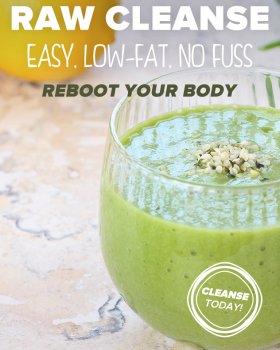
The Rawtarian's Photo Portfolio
I have about 200 recipes (100 free recipes, and another 100 recipes in the same format that are only viewable to TRK members) on this website, with unique photos of each recipe. A lot of the recipes have old, terrible photos still attached to them. I am working on improving them, one at a time. Photography, much like life, is a work-in-progress :)
You can check out a portfolio of some of my more recent food photography here: The Rawtarian's Photography Portfolio.
Extra Photography Tips:
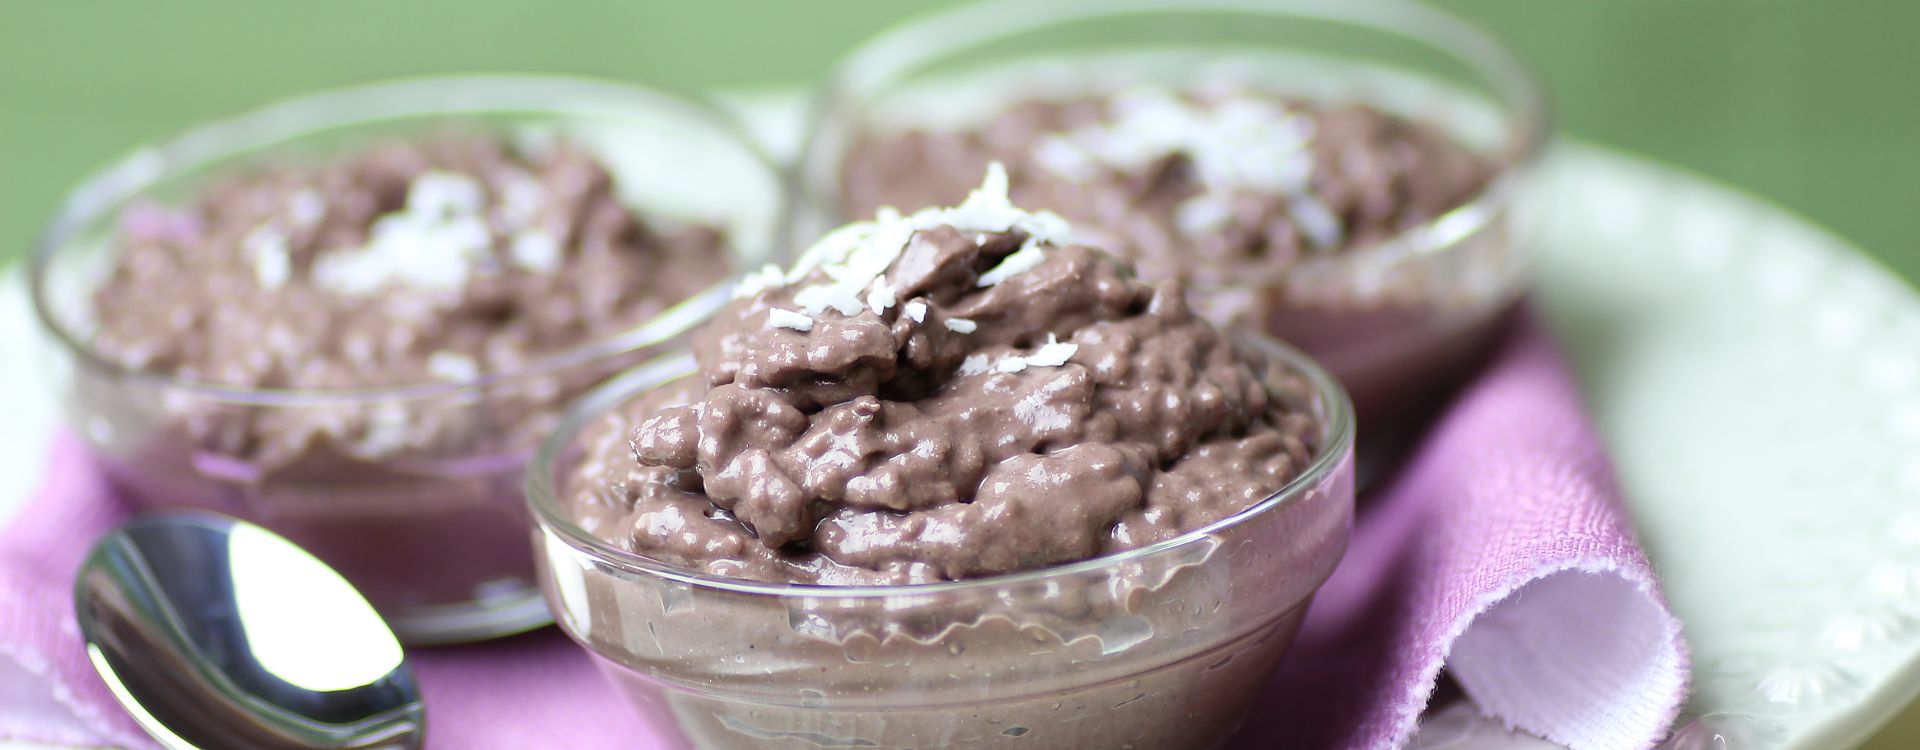
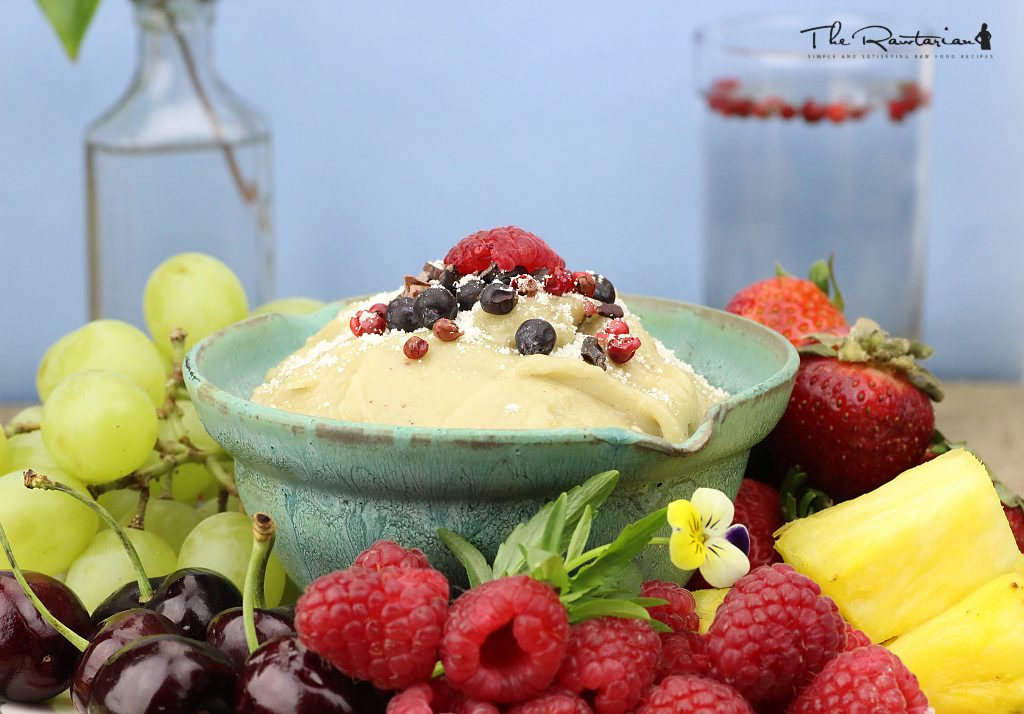
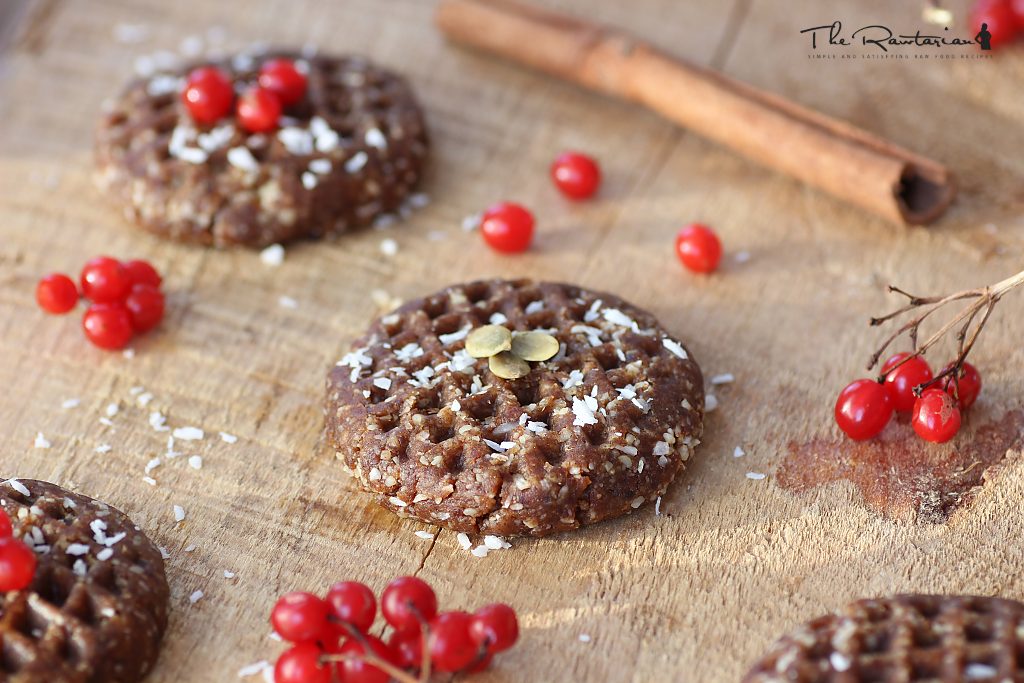
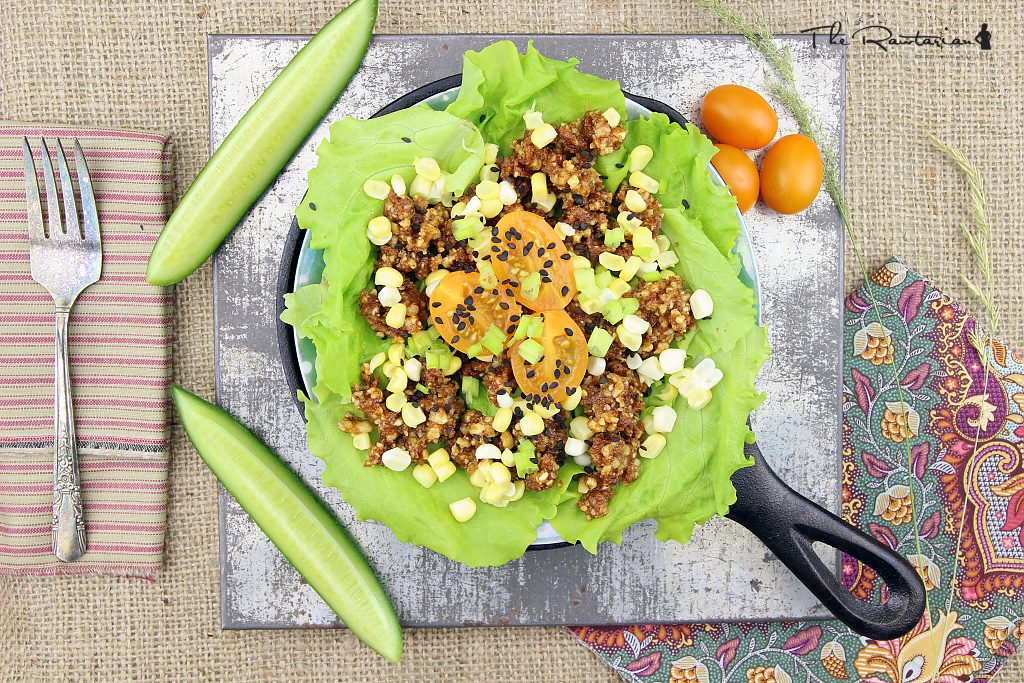
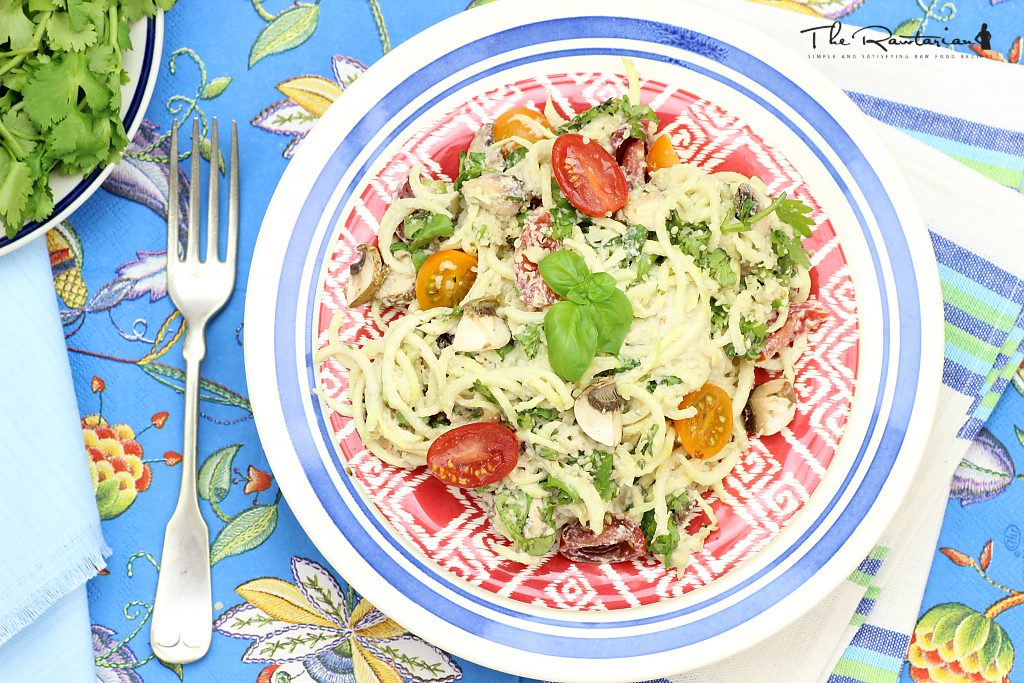
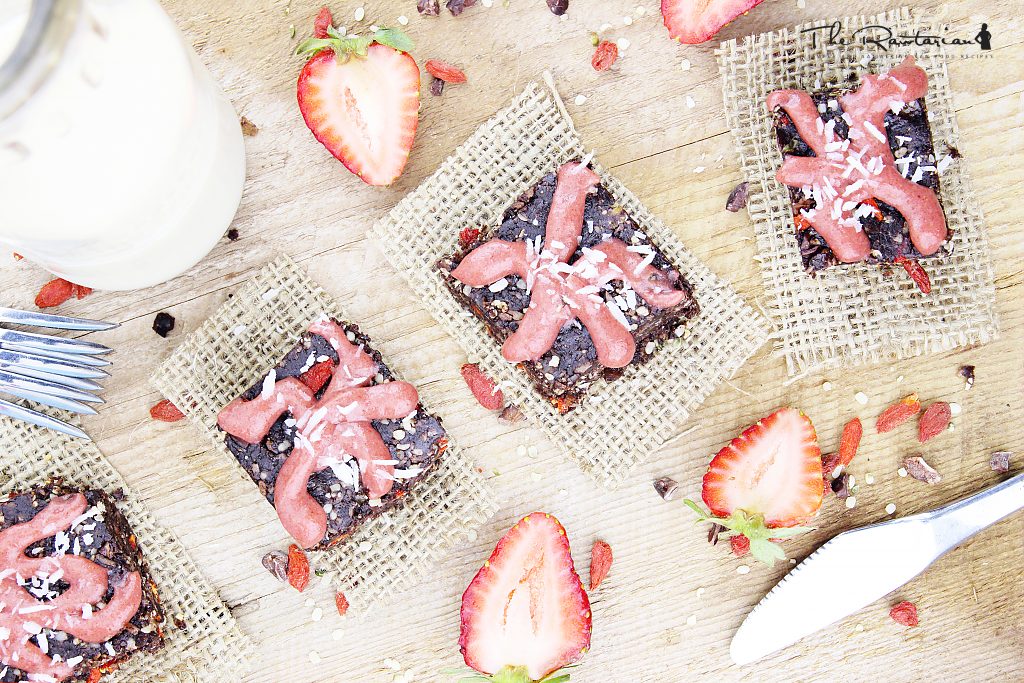
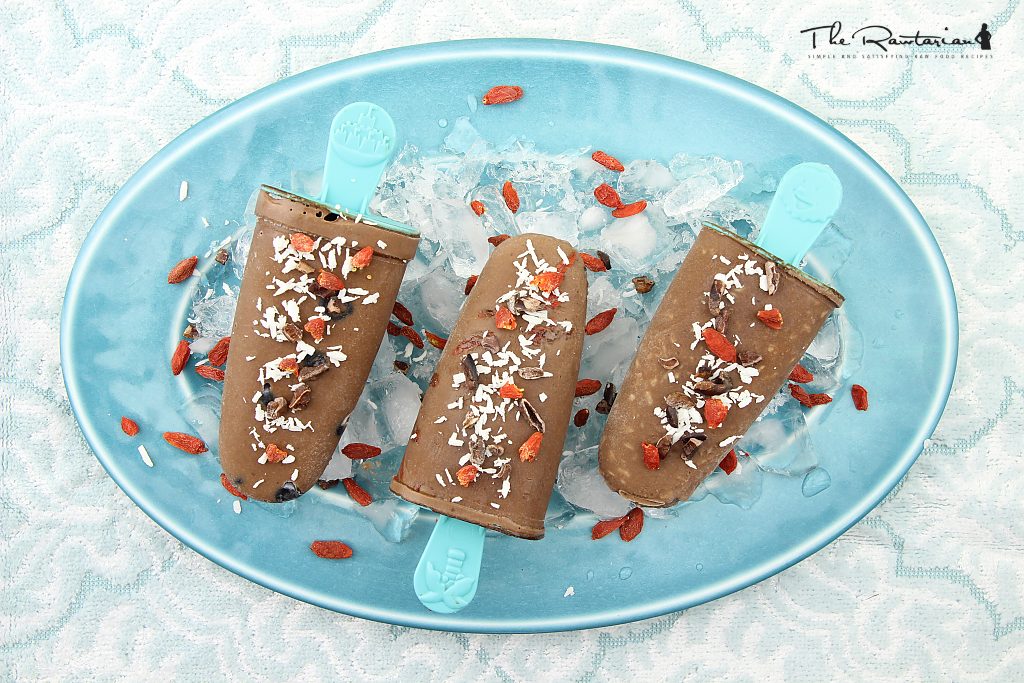
- Garnish. For example, it's easier for the camera to focus on the garnish rather than on a large blank bowl of soup.
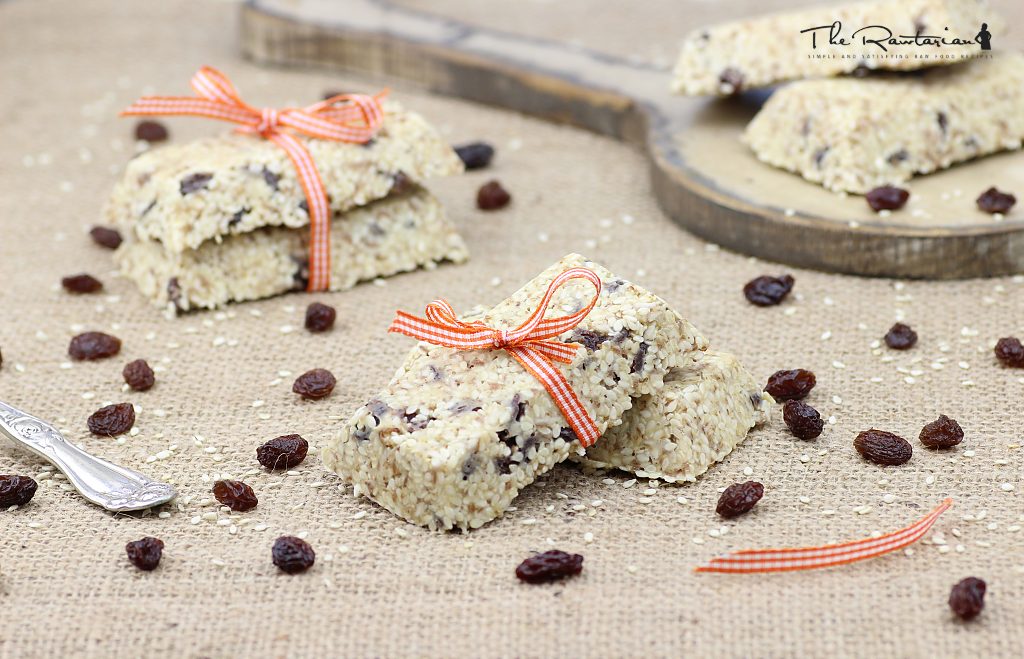
- Think small. Small dishes, small serving sizes, small forks, small plates are all much easier to work with and shoot.
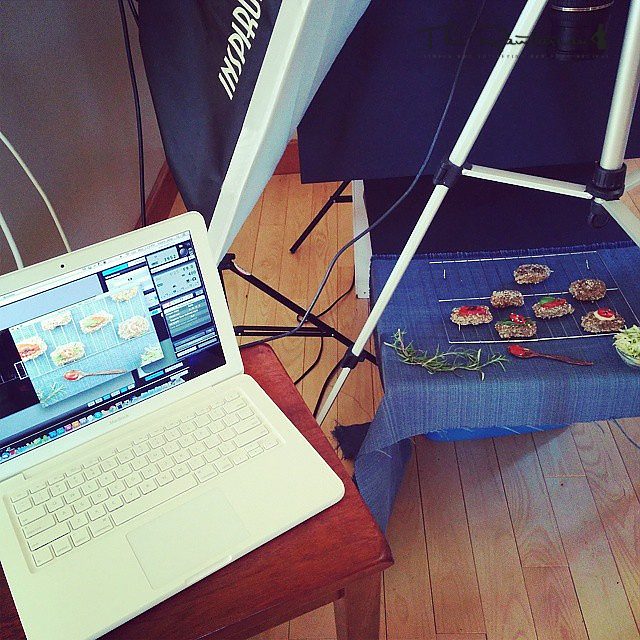
- Set up a backdrop. Check out this 6-second video of my actual set-up. You can see that I'm using a green board as my backdrop.
- Think darker. Whatever you are shooting, make the plate darker in color than the dish. (Example, chocolate cake on a black plate.)


Top voted
All
Leave a Comment
The Rawtarian wants to hear from you! Let's get the conversation going! Leave a comment or review below.